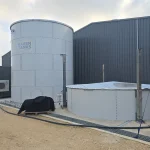
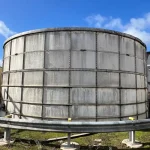
Water storage tanks require regular cleaning to maintain safe water quality. Over time, sediment, bacteria, and contaminants accumulate inside the tank.
Proper water tank cleaning and maintenance prevent health risks and system damage. It also ensures reliable performance.
In this guide, we explain the best practices for cleaning and maintaining water storage tanks.
Why Cleaning is Essential
Cleaning is a critical part of tank maintenance. Without it, contaminants can affect water safety and system efficiency.
Regular cleaning helps:
- remove sediment buildup
- prevent bacterial growth
- maintain water quality
- extend tank lifespan
If your system shows warning signs, review water tank maintenance signs before starting cleaning.
When Should You Clean a Water Tank
Cleaning frequency depends on usage and environment. However, general recommendations apply.
Typical guidelines include:
- cleaning every 6 to 12 months
- more frequent cleaning in harsh environments
- immediate cleaning if contamination is detected
Following a proper water tank maintenance schedule ensures consistent results.
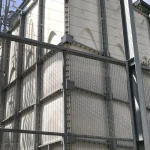
Preparation Before Cleaning
Before cleaning, proper preparation is required. This ensures safety and effectiveness.
Key steps include:
- shutting off water supply
- draining the tank
- ensuring safe access
- using appropriate safety equipment
Preparation reduces risks and improves cleaning quality.
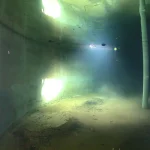
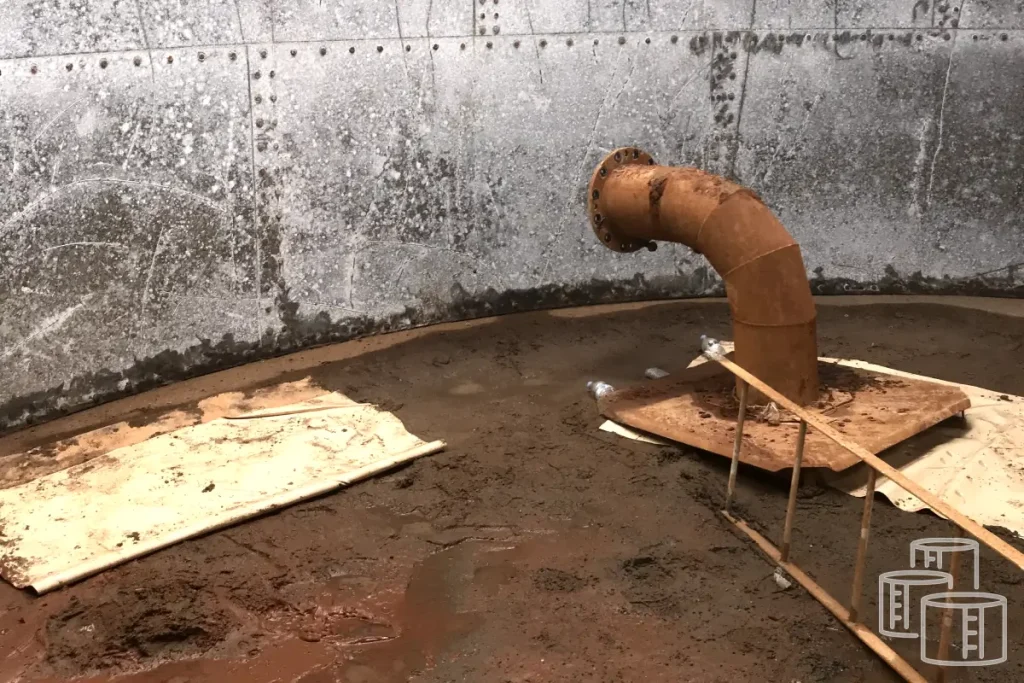
Step 1: Removing Sediment and Debris
Sediment accumulates at the bottom of the tank over time. It must be removed completely.
This step involves:
- manual removal of sludge
- flushing the tank
- clearing visible debris
Removing sediment prevents bacterial growth and improves water quality.
Step 2: Cleaning Internal Surfaces
After removing debris, internal surfaces must be cleaned thoroughly.
This includes:
- scrubbing tank walls
- removing biofilm
- cleaning corners and joints
Thorough cleaning ensures that contaminants are eliminated.
Step 3: Disinfection and Sanitization
Disinfection is essential for safe water storage. It eliminates harmful microorganisms.
The process includes:
- applying disinfectant solutions
- allowing proper contact time
- rinsing thoroughly
Proper sanitization prevents future contamination.
Step 4: Inspection After Cleaning
After cleaning, the tank should be inspected. This helps identify any hidden damage.
Check for:
- cracks or leaks
- corrosion
- worn components
If issues are found, professional water storage tank maintenance may be required.
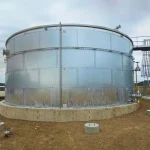
Step 5: Refilling and Testing
Once cleaning and inspection are complete, the tank can be refilled.
Testing includes:
- checking water quality
- ensuring proper flow
- verifying system performance
This confirms that the tank is safe for use.
Common Cleaning Mistakes to Avoid
Improper cleaning can reduce effectiveness. Avoid these common mistakes:
- incomplete sediment removal
- skipping disinfection
- using incorrect chemicals
- ignoring safety procedures
These errors can lead to contamination and system damage.
How Cleaning Fits Into Overall Maintenance
Cleaning is only one part of a complete maintenance strategy. It should be combined with inspection and repair.
Following a structured water storage tank maintenance process ensures better long-term results.
Benefits of Regular Cleaning
Consistent cleaning provides several advantages:
- improved water quality
- reduced contamination risk
- longer tank lifespan
- better system efficiency
Regular maintenance reduces the need for costly repairs.
Final Thoughts
Water tank cleaning and maintenance are essential for safe and efficient operation. Ignoring cleaning can lead to serious health and system issues.
A consistent cleaning routine helps maintain water quality and system reliability. It also reduces long-term costs.
If your tank requires attention, timely cleaning is the best solution. Preventive care ensures safe water storage and long-term performance.